How to Paint Plastic Window Shutters
How to Paint Plastic Window Shutters
A Step-By-Step Guide

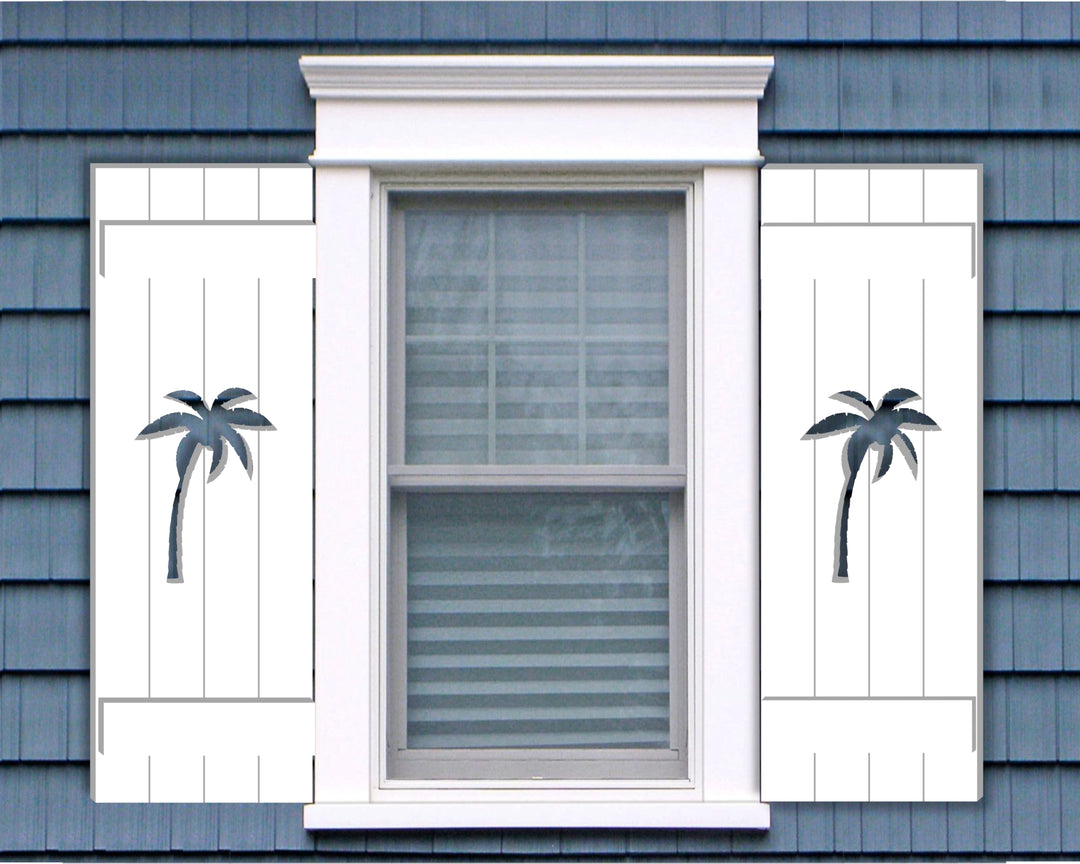
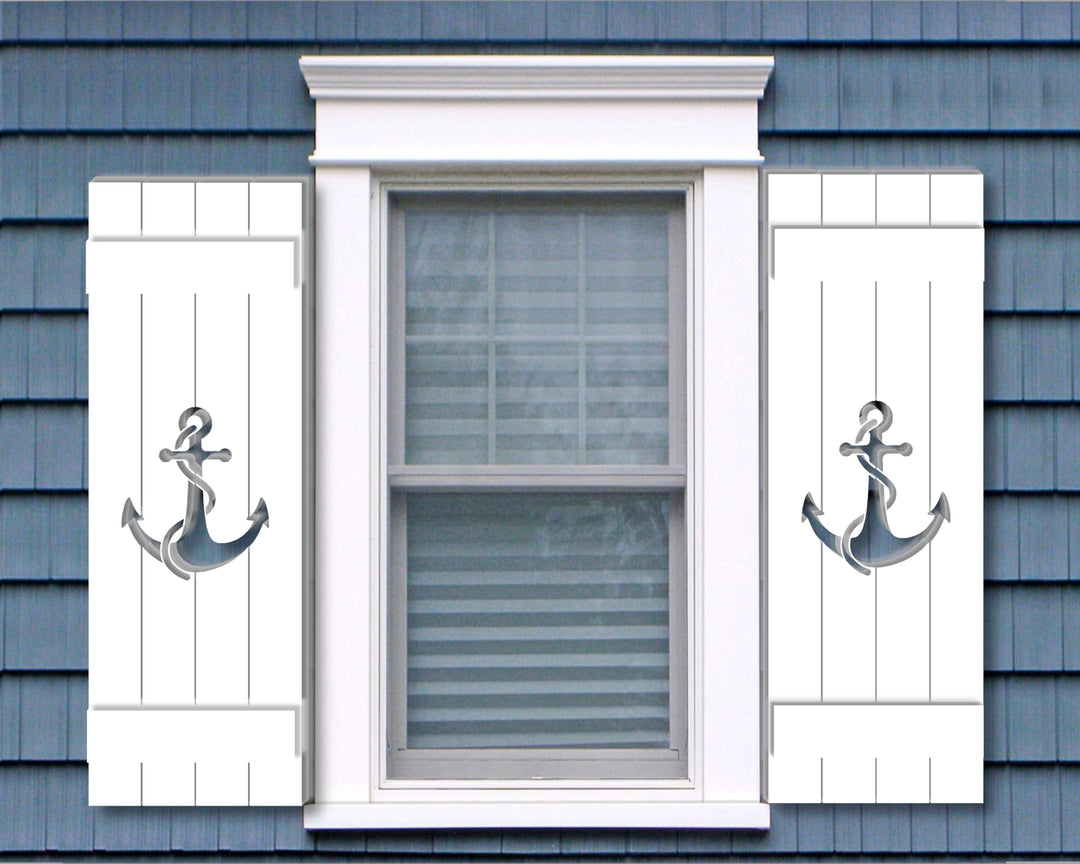
Window shutters serve both functional and aesthetic purposes, adding character to a home's exterior while providing protection and privacy. Plastic shutters, while durable and low-maintenance, may require periodic painting to refresh their appearance or to match a new color scheme. Painting plastic shutters is a straightforward process that can breathe new life into your home's exterior, provided you follow the right steps. In this comprehensive guide, we'll walk you through the process of painting plastic window shutters, ensuring a professional and long-lasting finish.

Selecting the right type of paint is crucial for achieving a professional finish that will withstand the elements. Look for a paint specifically designed for use on plastic surfaces, such as a high-quality acrylic or urethane enamel.
Consider the color scheme of your home's exterior and choose a paint color that complements it. Most paint stores can custom mix colors to match your preferences.
Preparation is key to achieving a smooth and durable paint finish. Begin by laying them flat on a clean, flat surface, such as a workbench or drop cloth.
Next, thoroughly clean the shutters to remove dirt, dust, and any grime that may have accumulated over time. Use a mild detergent solution and a sponge or soft brush to scrub the surfaces. Rinse the shutters thoroughly with water and allow them to dry completely before proceeding.


Priming is essential when painting plastic surfaces to promote adhesion and ensure the longevity of the paint job. Choose a high-quality primer specifically formulated for use on plastic materials.
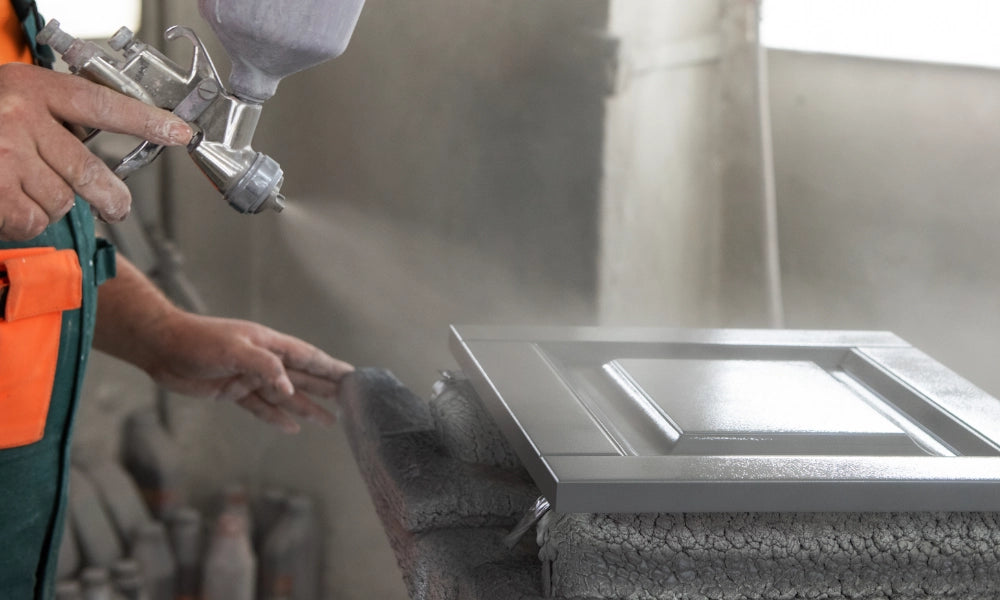
Apply the primer evenly to the shutters using a paintbrush or spray gun, following the manufacturer's instructions. Make sure to cover the entire surface, including any crevices or recessed areas. Allow the primer to dry completely before moving on to the next step.
Once the primer has dried, it's time to apply the paint. Stir the paint thoroughly before use to ensure an even consistency. Use a paintbrush or spray gun to apply the paint in thin, even coats, working from top to bottom and overlapping each pass slightly to avoid streaks or uneven coverage.
Allow the first coat of paint to dry completely before applying additional coats. Depending on the color and coverage, you may need two or more coats to achieve the desired finish. Follow the manufacturer's instructions regarding drying times between coats.

Once the final coat of paint has dried, inspect the shutters for any missed spots or imperfections. Touch up any areas as needed, using a small brush or foam applicator.
If desired, apply a clear topcoat to seal and protect the paint finish from UV rays and weather damage. Choose a topcoat specifically formulated for outdoor use and follow the manufacturer's instructions for application.
Finally, reattach the shutters to the windows using the appropriate hardware, making sure they are securely fastened.
Painting plastic window shutters is a rewarding DIY project that can enhance the curb appeal of your home. By following the steps outlined in this guide and using the right materials and techniques, you can achieve a professional-looking finish that will withstand the test of time. So, roll up your sleeves, gather your supplies, and give your plastic shutters a fresh new look!